Makeup For Your Photo Session, Grand Rapids MI
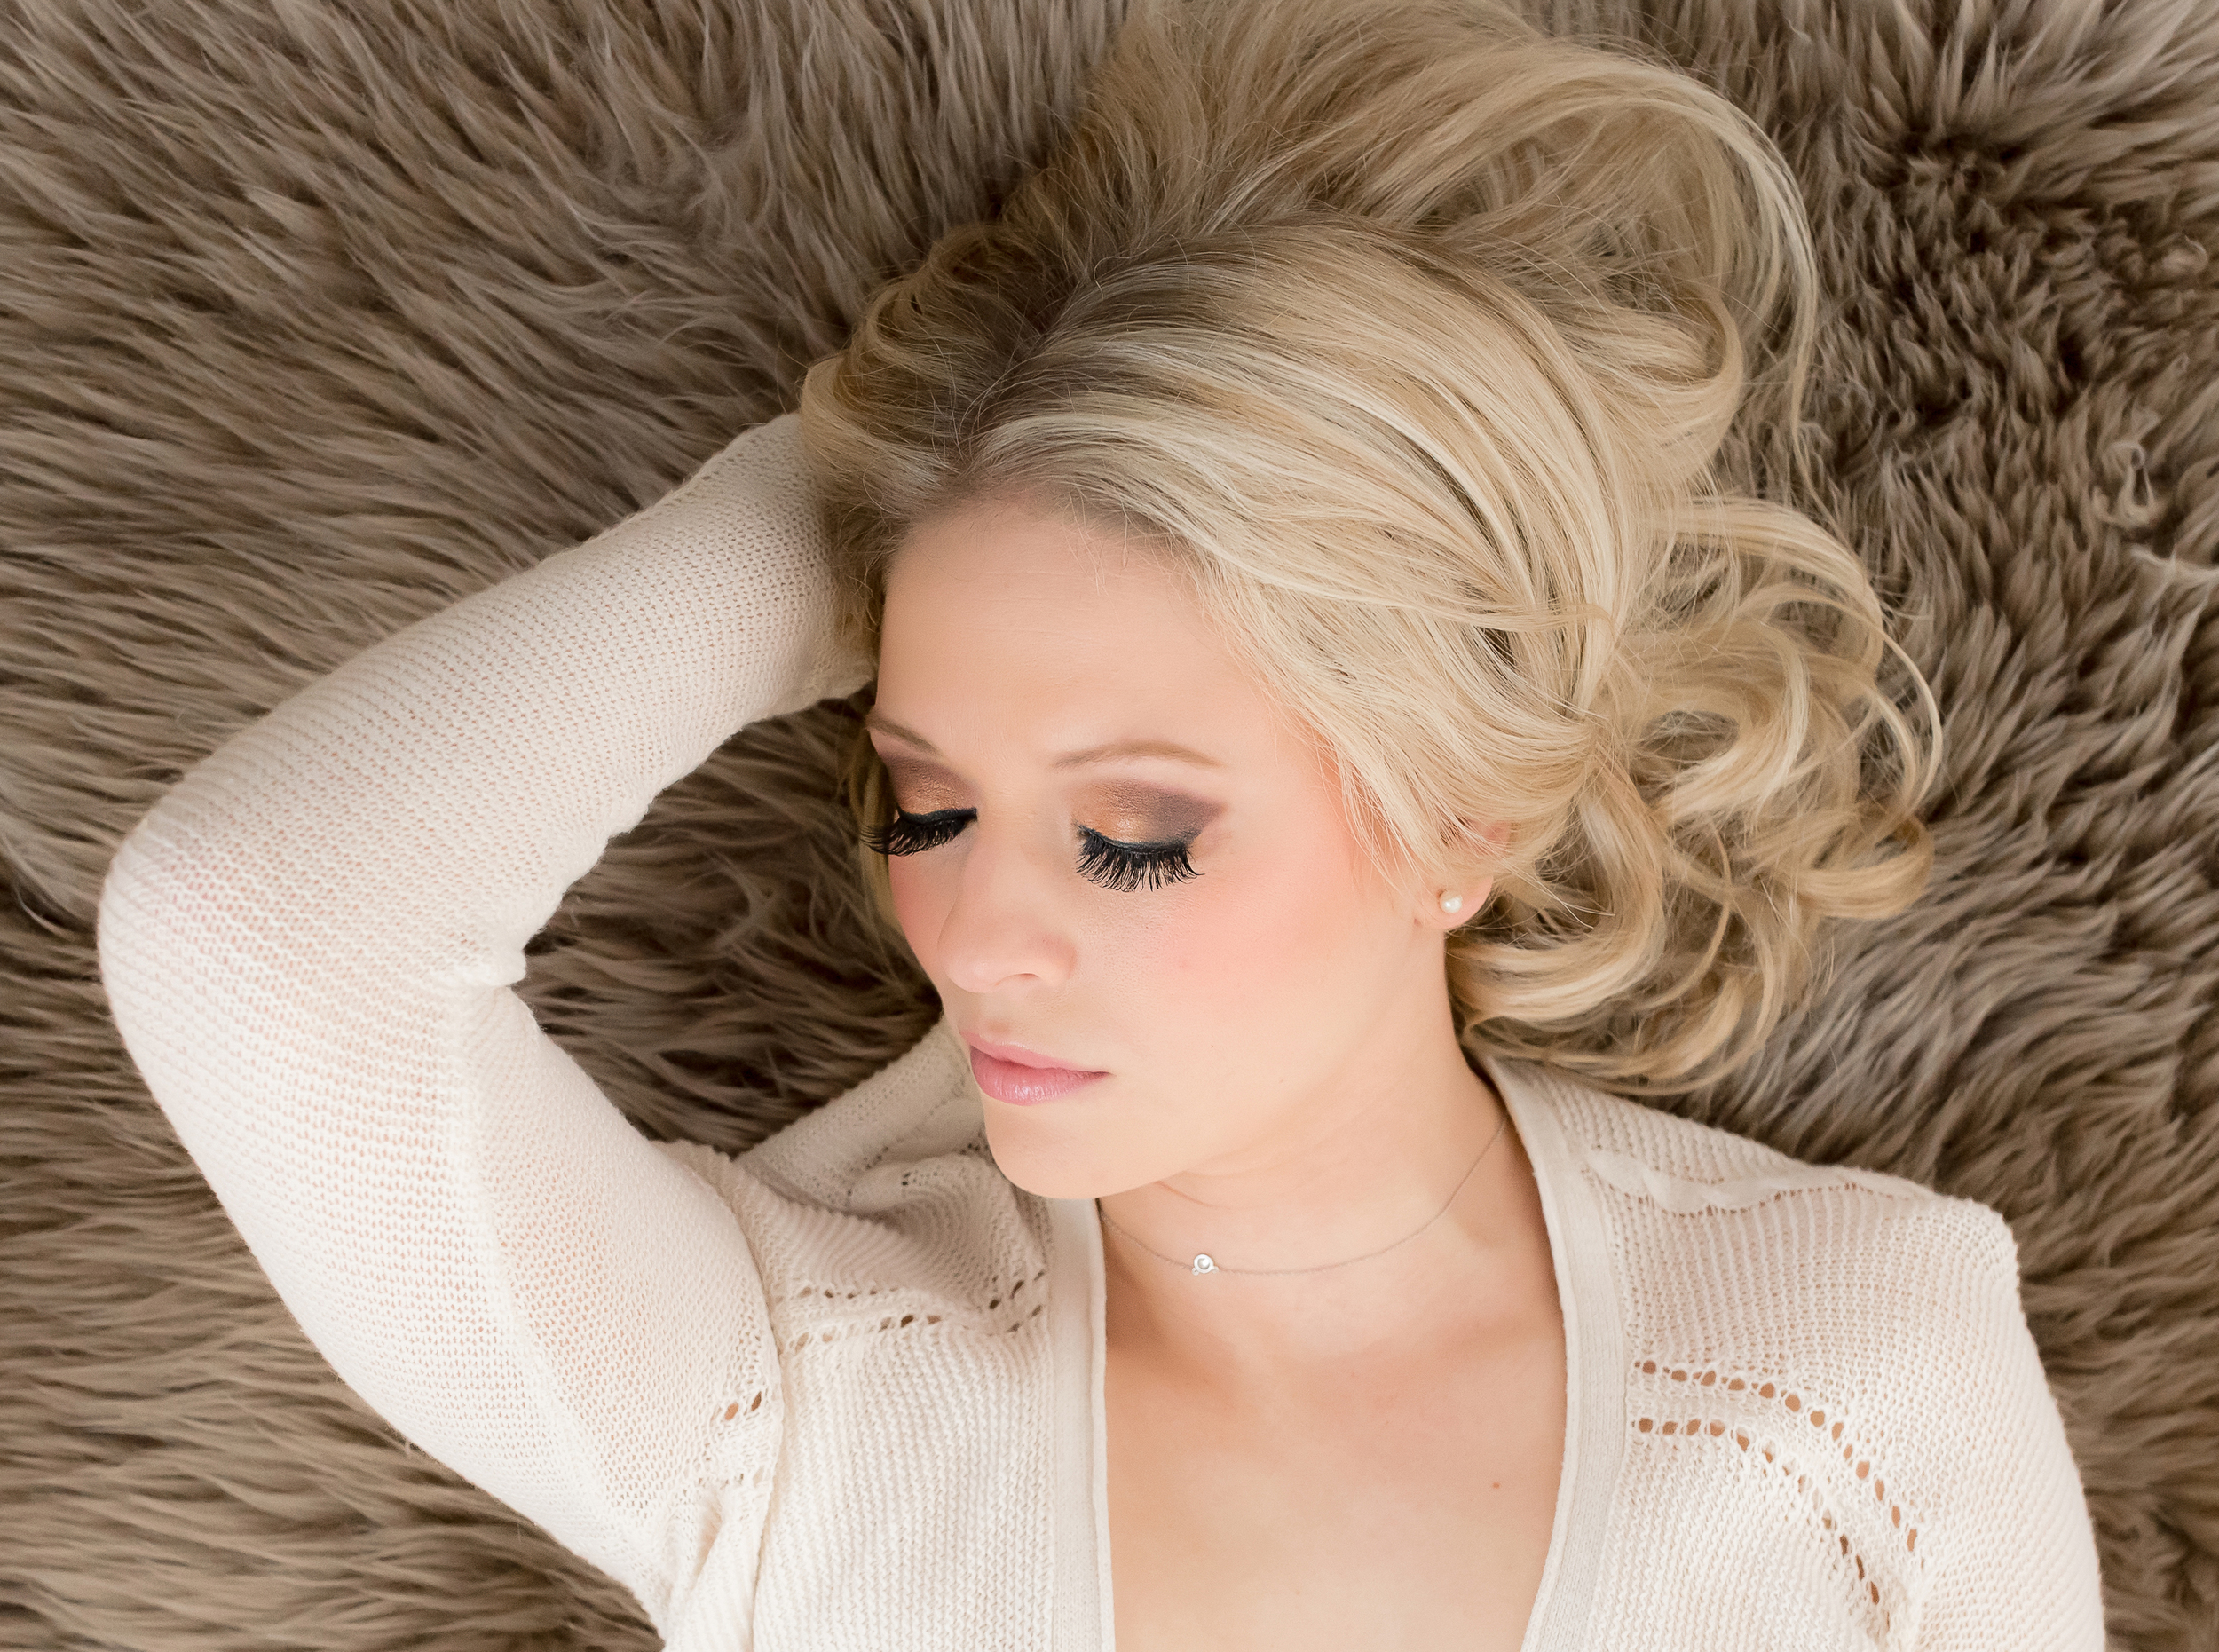
I highly recommend getting professional makeup done for your portrait session. It really makes a HUGE difference in your portraits! By going to a professional with such expertise as Allison Bower, your skin comes out looking soft, even, blemish free, contoured, and fresh in your images. Not only that but it makes your eyes pop, your lips look plump and your cheeks look defined. You truly look your best! I have asked my makeup artist, Allison Bower, to write a little more about professional makeup and to spill her secrets about the makeup she loves! It is like getting a one-on-one mentor session with a professional! I think every women could use her expertise! If you have a wedding, special event, or portrait session coming up (hint, hint), I highly recommend you take a look at her website, www.allisonbower.com, and contact her. You won't be disappointed!
Read below to learn Makeup Tips and Tricks from Allison!
Guest Blogger: Allison Bower Makeup Artist, www.allisonbower.com
Professional photography is an investment that lasts forever. Professional makeup looks polished, deliberate, styled, and properly executed for photos. Subtle highlighting and contouring, photo appropriate foundation, false lashes, and cleanly applied makeup makes you look like the best version of yourself in photos. Far too often, women will schedule a session and ultimately insist on doing their own makeup. Many women get stuck in a makeup rut, and often don’t know the ideal ways to bring out the color of our eyes, enhance our cheekbones or accentuate our lip shape. Hiring a professional makeup artist enables them to indulge in the entire ‘experience’ of a photography session which includes a healthy dose of pampering. When clients look good, they feel good. This leads to greater confidence while posing in front of the camera.
So, what is in Allison Bower's makeup cases? I will share some of my favorite things like Oprah does:
1. Invest in a Brush Set
High quality makeup brushes are designed to last for years. They make application easier and more professional looking. I own 10 master brush sets from Laura Mercier. One of my favorite affordable brush lines is Sonia Kashuk, which is available at Target. Make sure you wash them with a gentle shampoo and dry them flat.
2. Primer Be sure to begin with a primer to create a smooth starting point for the rest of your look. Two of the best ones on the market are Smashbox Photo Finish Foundation Primer and Laura Mercier Mineral Primer.
3. Foundation - Refine Your Complexion
Choose a foundation that’s right for your skin type and made to be photographed. It’s best to avoid any varieties with built-in sunscreen, as they don’t play nicely with flash photography and can look mask-like in photos. Two of the best camera friendly foundations are Make Up For Ever HD Invisible Coverage Foundation and Revlon PhotoReady Foundation (liquid, mousse or powder). I prefer to airbrush my clients.
4. Set Your Foundation Using Powder
Secure your foundation by setting with a light powder. Choose one with a translucent finish (like Laura Mercier) if you prefer a matte look, or a luminous finish (M.A.C Mineralize Skinfinish is a winner) if you like to have a bit more of a glow.
5. Peachy Cheeks
The final touch for your skin is a flush of color on the cheeks. Apply it just on the apples of your cheeks to give a healthy glow and not like, well, blush on camera. For the most natural look, try to find the color which you would flush naturally. My favorite blush is Nars Orgasm Blush because it looks fantastic and natural on all skin types.
6. Eye Shadows
What ever shadow you choose, it needs to pass the test for blend-ability and color payoff, and also come in a wide range of shades and are guaranteed to wear beautifully. My favorite shadows are from M.A.C Cosmetics. M.A.C shadows are highly pigmented and last all day long. Here are some of my very favorite M.A.C colors: expensive pink, woodwinked, phloof, satin taupe, all that glitters, ground brown, nylon, naked lunch, carbon, mulch, and star violet.
7. Mascara
Start with two or three strokes on one eye and then go to the other and do the same, then go back to the other eye. Rotating like that a few times will help you build great lashes, but be careful to not overdo it. Applying too many coats not only can look messy and overly thick, but also increase the likelihood of flaking, chipping, or smearing. Avoid using waterproof mascara everyday, because it is very difficult to remove. My favorite mascara is Cover Girl Lash Blast Mascara.
8. Lip Color that Lasts
A matte or creamy finish will give you the best staying power and will require fewer touch-ups. I am a huge fan of Nars Velvet Matte Lip Stain Pencils. Another favorite is Laura Mercier's Creme Smooth Lip Color.
9. Balance is Key
Keep eyes simple when wearing a bold lip color. Similarly, if you decide to wear a smokey eye, keep your lips nude or pink as to keep attention only on one area of the face.


